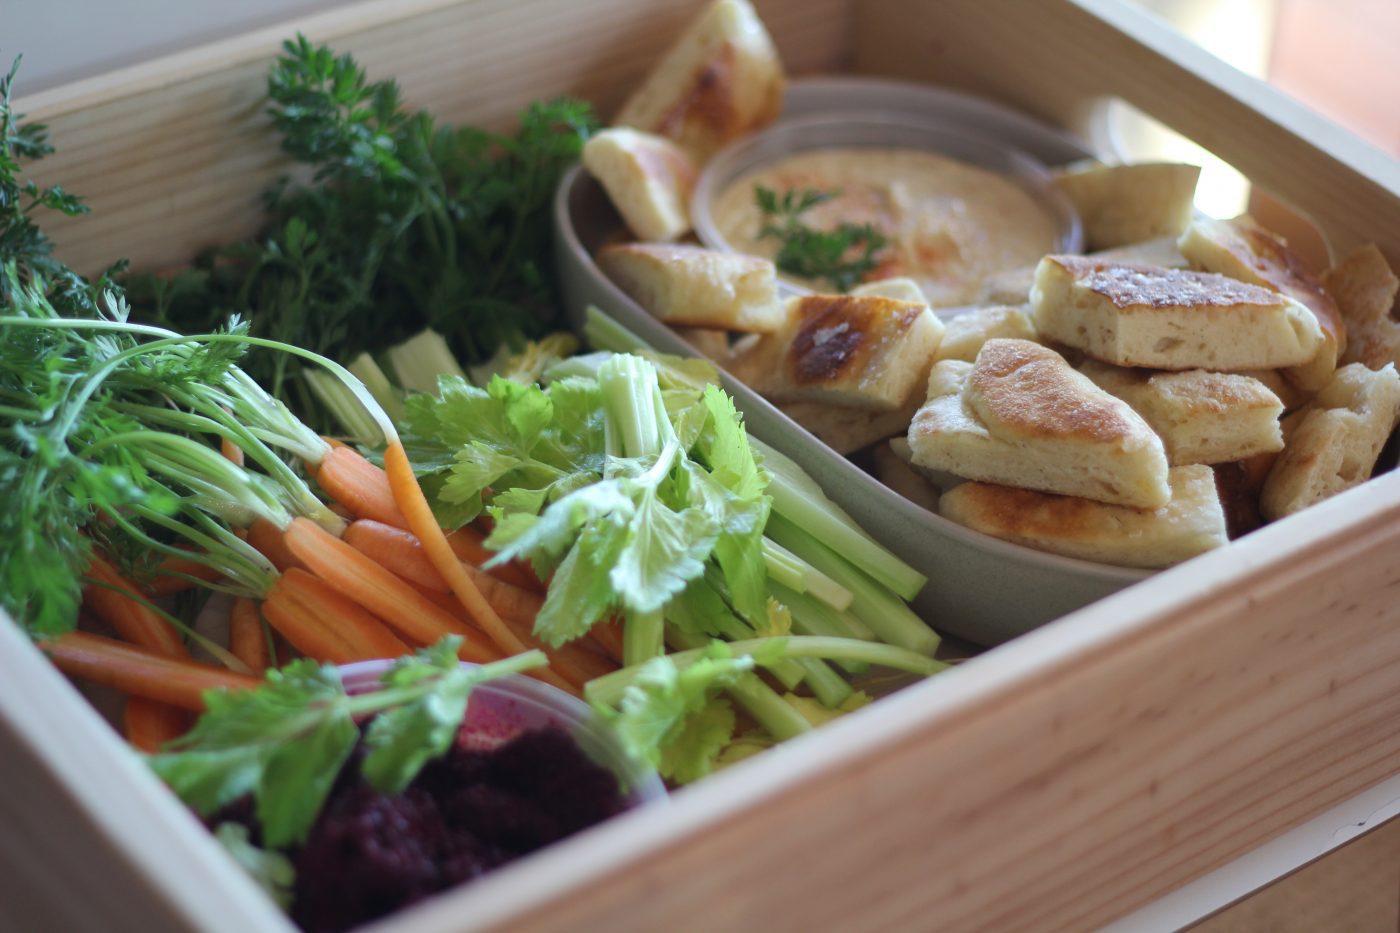
My Grace’s healthy snack platter – it’s a winner !
Nellie Kerrison
December 30, 2015
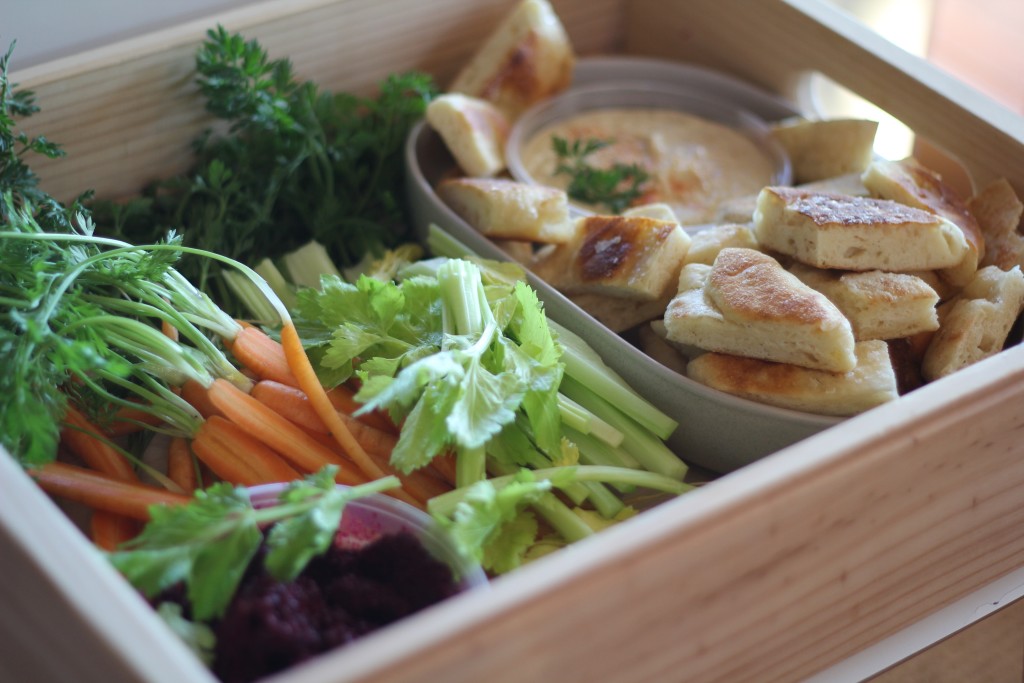
Just think about this for a second……..one lovely daughter, working really hard in the kitchen cooking her Mother some really awesome healthy snacks and takes them out to said Mother, who is resting by the pool and sipping on her G & T. yes, yes, and yesssss.
Nothing snaps a Mother out of her delusional state faster than getting up at 5am to rise a batch of pitta dough for her lovely daughter who is still in bed because the Mother can’t bring herself to wake this lovely girl up at such a time. THIS is what really happened. The pool thing and the G & T thing, I have been working really hard on both this past week, you’d be so proud.
A couple of months back, Grace’s school class were given the task (awesome task) of bringing in a healthy snack to share with class mates. What they took in had to be home made and not bought and it was as a celebration of the class finishing a module on nutrition. Grace was in her element and just like her Mum, got way too excited in the planning and ended up with way more on her platter than was practical for the commute to school via both foot and train but she managed, just the same. The Mother who had risen particularly early this day to help her beloved first born roll out pitta’s, copped an always welcome eye roll as the daughter headed out the door. She suddenly felt a pang of self consciousness for her elaborate effort and was worrying what school buddies would say. All I could tell her was to be proud and to hold her head high. I am sure she really wanted to hug me but instead, she opted for the eye roll. Excellent.
Seeing her beam, later that day as she ran to the car is etched in my memory. As she jumped in the passenger seat, she hugged me and let out a squeal (both always way more welcome than an eye roll). Her class had voted her platter as the best and she was chuffed, chuffed and a little more chuffed again.
Although I got up early to make the pitta dough, the rolling and cooking and dips, shopping for the ingredients and presenting, were all her fabulous handy work. The dips were from my cookbook, which she chose herself. She has whipped these up a few more occasions now and it is just a treat to watch her at work. I am sure it is only a matter of time before all are made purely for her Mother, who is resting by the pool and sipping on her G & T. yes, yes, and yesssss.
Home made Pitta’s
Makes 8
1 x 7g sachet of dried yeast
½ cup or 125ml lukewarm water
1 tablespoon of olive oil
3 teaspoons of sea salt, plus extra when serving
1 cup or 250ml lukewarm water
4 cups of strong flour (bread flour or 00 flour is ideal)
2 tablespoons of olive oil
1 tablespoon of honey
1 tablespoon of natural yoghurt
Olive oil spray
Semolina or flour for dusting & rolling
Place yeast in to a medium sized bowl with ½ cup of warm water and olive oil. Whisk lightly to combine and then set aside for 15 minutes. Dissolve the salt in the remaining 1 cup of warm water.
In a large mixing bowl, add flour and make a well in the centre. Add the yeast mixture and also the salt water as well as the honey and natural yoghurt. Knead with hands for 10 minutes in the bowl (alternatively use a food processor or stand mixer that has a dough hook to do this). Shape into a ball and place in a lightly oiled bowl, cover, and place in a warm area to rise until doubled in volume, approximately 1 ½ hours. Punch down the dough and knead for 5 minutes more.
Scatter a little semolina or flour across your bench top. Take pieces of dough slightly larger than an egg and roll out on a floured surface to a thickness of 4mm. (For larger or smaller pita bread pieces, take more or less dough). Prick the bread with a fork in several places or use a ‘pastry docker’.
Pre heat a non-stick frying pan over low-medium heat. Add a little olive oil or butter to and cook one pita bread at a time for approximately a minute on each side or until lightly golden. Sprinkle with a little sea salt.
Serve immediately or reheat in a frying pan for best results.
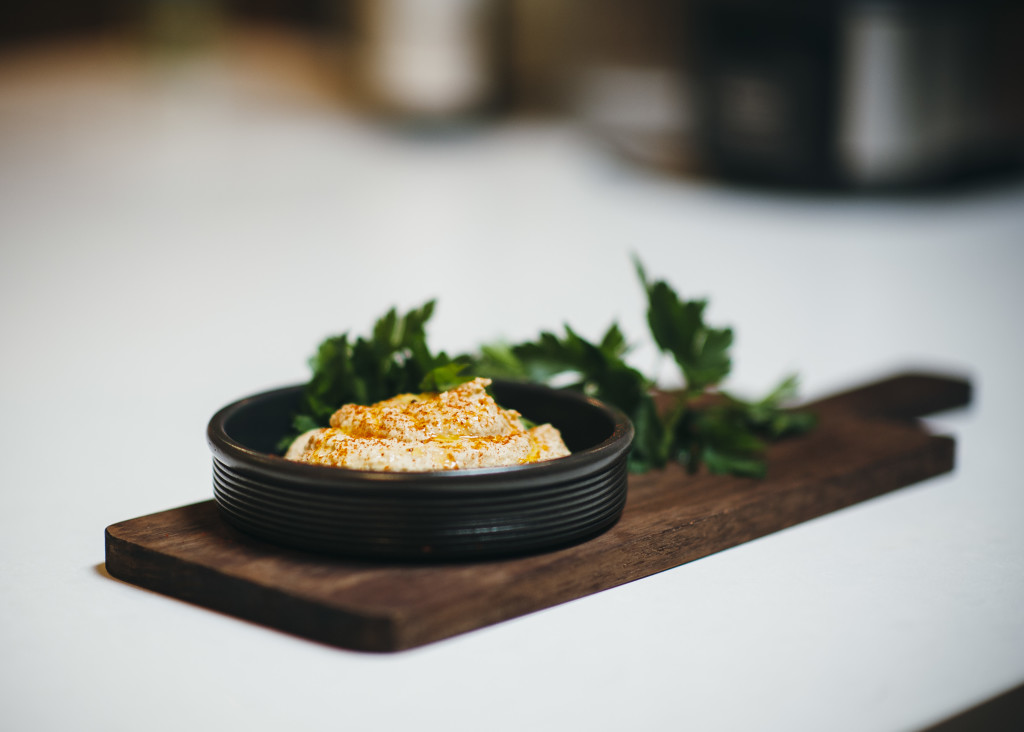
Hummus
1 tin chickpeas (approx. 400g)
¼ cup (60ml) fresh lemon juice, about 1 large lemon
1/4 cup (60 ml) tahini
Half of a large garlic clove, crushed
2 tablespoons olive oil, plus more for serving
1/2 to 1 teaspoon sea salt, depending on taste
1/2 teaspoon ground cumin
2 to 3 tablespoons water
Dash of ground smoked paprika, olive oil and flat leaf parsley for serving
In the bowl of a food processor, combine tahini and lemon juice. Process for 1 minute. Scrape sides and bottom of bowl then turn on and process for 30 seconds. This extra time helps “whip” or “cream” the tahini, making smooth and creamy hummus possible.
Add the olive oil, garlic, cumin and the salt to whipped tahini and lemon juice. Process for 30 seconds, scrape sides and bottom of bowl then process another 30 seconds.
Open can of chickpeas, drain liquid then rinse well with water. Add half of the chickpeas to the food processor then process for 1 minute. Scrape sides and bottom of bowl, add remaining chickpeas and process for 1 to 2 minutes or until thick and quite smooth.
Most likely the hummus will be too thick or still have tiny bits of chickpea. To fix this, with the food processor turned on, slowly add 2 to 3 tablespoons of water until the consistency is perfect.
Scrape the hummus into a beautiful serving dish and then drizzle about 1 tablespoon of olive oil over the top and sprinkle with smoked paprika and fresh parsley.
Best served at room temperature.
Will store in fridge for up to 1 week.
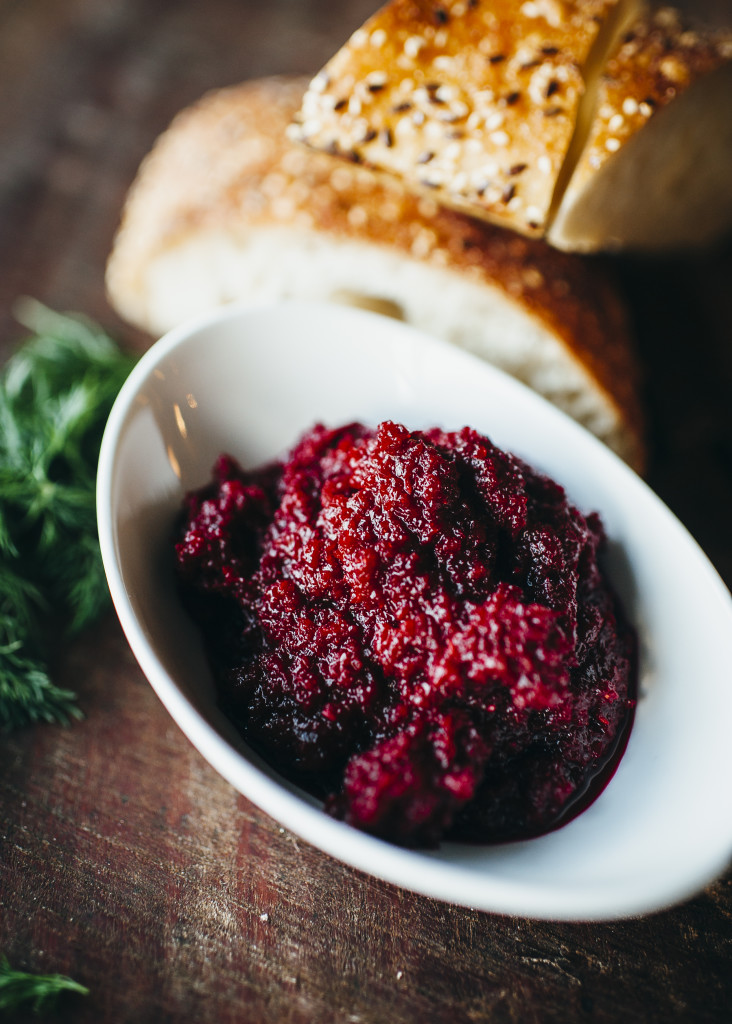
Beetroot dip
2-3 beetroots
40ml olive oil
40g sugar
1 teaspoon each of ground cumin, coriander, cinnamon & paprika
Sea salt
60ml lemon juice
1 level tablespoon natural yoghurt
Preheat the oven to 200oC.
Wash the beetroots under cold water and rub to remove any loose dirt. Cut the stalks down to the last few centimetres to keep the juices from bleeding out of the beetroot.
Place the beetroots on a lined baking tray and pour the olive oil over the top and coat the beetroot well. Cook for 1 ½ hours or until tender, turning every 20 minutes or so. Test by pricking the middle of the beetroot with a fork. If the fork pierces the beetroot with ease, they are ready, if not, cook for a further 15 minutes.
Remove the top and bottom ends of the beetroots and discard. The skin should rub off by hand with ease. Cut the peeled beetroot into large chunks.
Place the beetroot, sugar, spices and a good pinch of sea salt in a food processor & blitz until combined but so that there is still some texture. Add the lemon juice and blitz for 20 seconds more. Add the yoghurt and process only until just combined.
This dip is lovely served whilst still a little warm or it will store in the fridge for up to 5 days.
- TAGS:

Cooking classes that cater to everyone – from the beginner cook, through to the food fanatic. Our cooking classes & events are delivered both in person and also online.
- Bayside, Melbourne and other various locations around Melbourne
- (03) 9553 4846
Subscribe to Relish Mama
Sign up to receive our delicious bi-weekly newsletter, right to your inbox.
Copyright © 2023 Relish Mama. All rights reserved.

