Making butter (and buttermilk) at home
Nellie Kerrison
8 October 2011
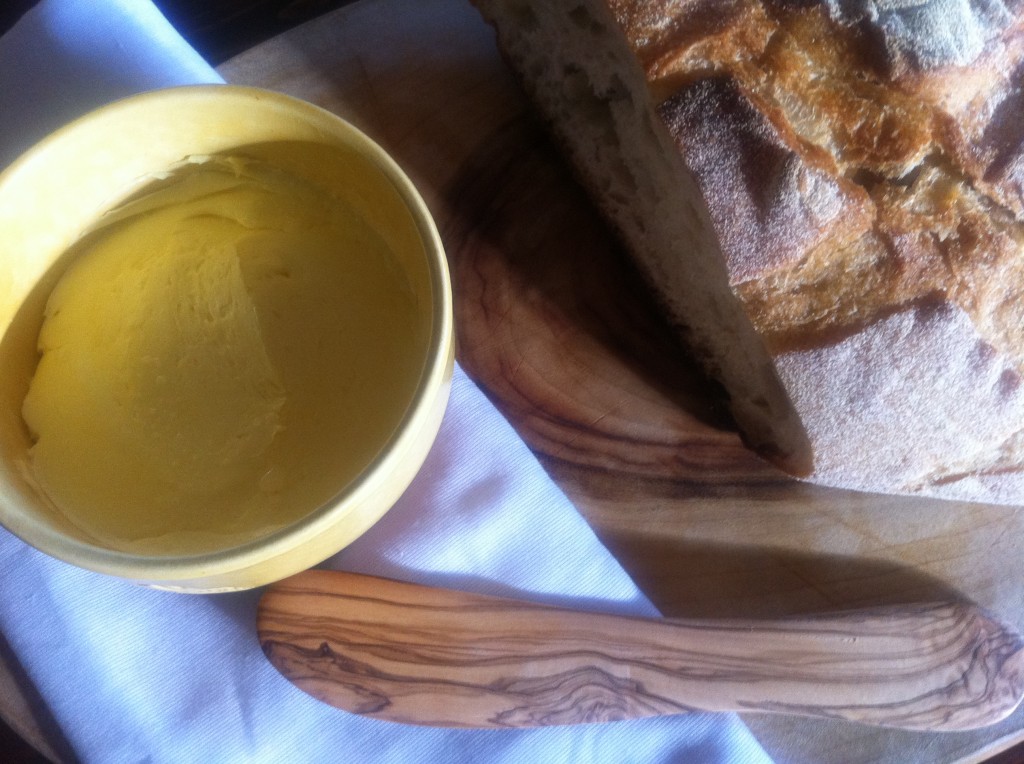
Some of you may remember making butter when you were a child and most likely, during a home economics class at school. I remember it so well (some things just stay with you)! I think I have always been obsessed with food! I thought it was utterly magical to see that I had made butter with nothing more than some cream and a little fancy shaking.
This week, we had some wonderful children and teens come through our door for some school holiday cooking fun. We cooked up lots of delicious treats but one that really stood out was the whipped honeycomb butter (we enjoyed this for dessert and it worked it’s magic on top of some warm and delightfully fluffy ricotta pancakes). In the teens class, they made the butter themselves, just as I had done, way back when! By the beautiful looks of amazement on some of their faces, I hope too, they will remember it for a long time to come!
Making your own butter at home is easy and so much fun. The only ingredient you need is thickened cream or double cream. Really fresh cream takes longer to turn in to butter so better to use cream that has been in your fridge for a couple of days.
Take the cream out of the fridge and let it warm to room temperature. Pour the cream in to a jar about 1/3 of the way up the sides. You need to have plenty of space left in the jar to shake the cream around. Screw the lid on tight or you will be incorporating a spring clean into this process! Now get to it………………shake it, shake it, shake it! It is important not to stop shaking until the butter starts to form. You might be looking at 10 minutes or so here so a little dancing and creative thinking helps to pass the time nicely! Firstly you will hear a slopping sound, then after a while, the slopping goes silent. Right now, you have whipped cream in your jar – amazing isn’t it? Keep shaking. After another while, the sound will change again. Take a peep – you will likely have a lump of butter sloshing around in what looks like milk. Da daaahhhhh! The lump is in fact butter and the liquid is buttermilk. This buttermilk treat finally delivers the full meaning to its name. One small sip and I do believe that like me, you too might become a homemade buttermilk junkie! It is extremely difficult to show restrain and leave enough for buttermilk pancakes or muffins! It is soooo much better than the one you might buy at your supermarket.
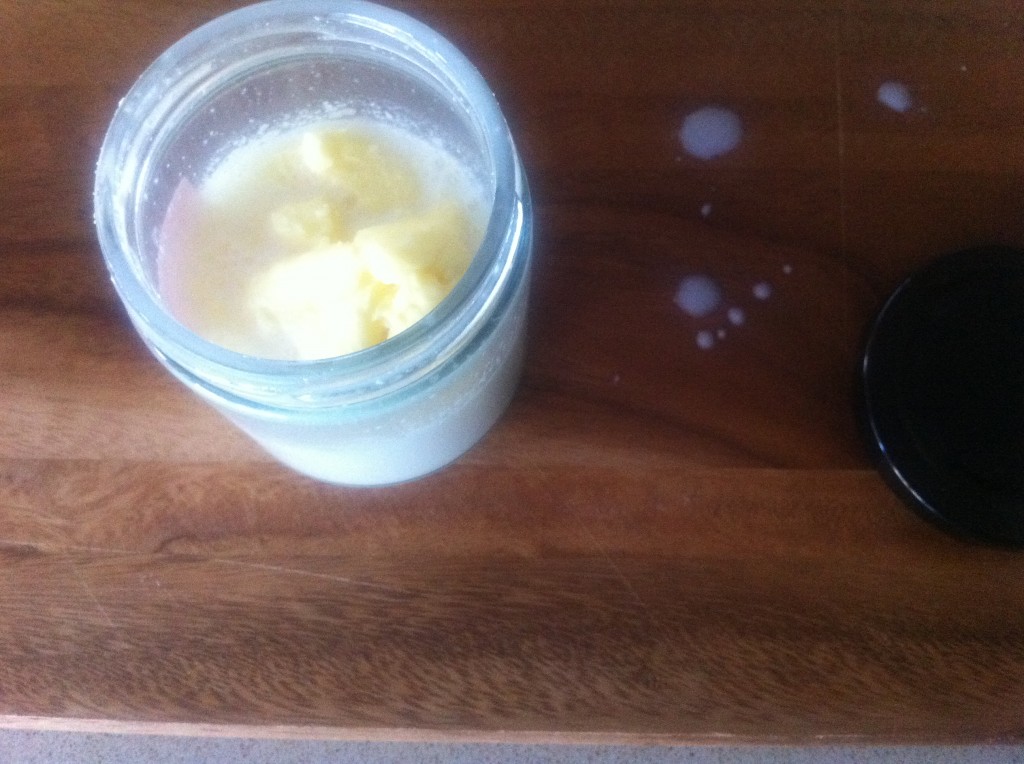
Now you need to separate the butter from the buttermilk by straining it. A colander or piece of muslin would be a great help here.
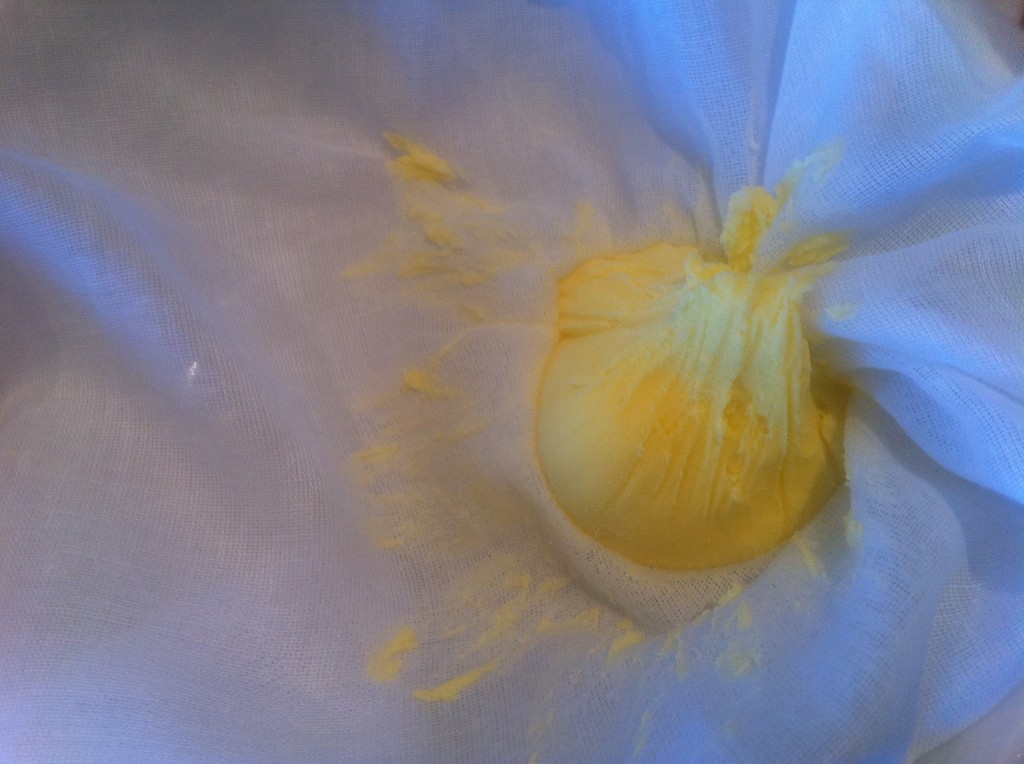
Rinse the butter with cold water, gently turning the butter while the cold water runs over it. Repeat this until the water runs clear. It is so important that there is no buttermilk left. Right now, you could mix in a little bit of salt, to taste or leave the butter unsalted if you prefer. You can also add crushed garlic or some freshly chopped herbs to make flavoured butter if you wish at this stage.
To keep your butter the freshest tasting, you don’t want any air trapped around the butter. When all the butter is smoothed into your storage dish or jar, top it off with cold water and cover or screw on the lid. This water layer is not 100% essential (and to be truthful, I don’t often do it) but what it does is keep your butter air free – which preserves its fresh taste longer. Pour off the water each time you use your butter and top it off with a new cool layer when done. Homemade butter can also be stored for at least three months in a freezer. Pretty impressive to be serving your very own flavoured homemade butter at your next dinner party alongside some ‘knock out’ bread!
Learning what goes in to making some of our everyday foods, is fantastic and a lot of fun. Keep in mind that the shaking process might take a while but using room temperature cream does reduce the time it takes to turn the cream in to butter. Please be patient – it is all so worth it and definitely fun if you add some of that dancing and creative thinking I spoke of a little earlier!
Here is where I let you in on a little secret – of course all of this can be done using electric beaters or a stand mixer. Of course it can! This is the way I do it these days and fun to really see the different stages occuring before your eyes (hard to really see the stages when you are shaking and dancing in time to the beat and you are doing everything to tune out from the concerned faces your children are throwing your way!) but PLEASE do it at least once, with the jar, especially with kids as this is where the real memories come from. A great achievement to know you have made it yourself! Have fun!





2 thoughts on “Making butter (and buttermilk) at home”
Fantastic. I am so going to give this a go, at least once, to experience the joy of homemade butter to go with some homemade sourdough. Looks like fun.
Great to hear! Hope you love the making of & eating as enjoyable as we do here! Happy shaking!